Whole Wheat Quick Beer Bread
- Abby

- Mar 9, 2021
- 2 min read
Updated: Feb 16, 2022


This bread is so easy to make and whips up in just minutes! Your oven won't even be up to temperature yet. All you need is bottle of your favorite beer, and some basic ingredients. This is a quick bread, so there is no yeast required. It is the perfect side for soups and stews. Whole wheat flour is used to boost the amount of fiber and nutrients, but some regular flour is used to prevent the bread from becoming too dry.
All you will need is all purpose flour, whole wheat flour, sugar, salt, baking powder and a bottle of your favorite light beer.
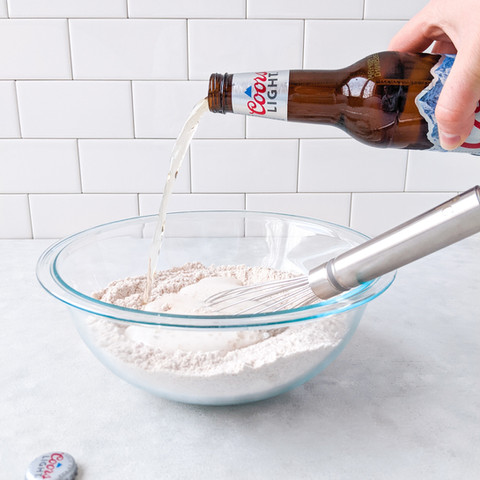
I chose Coors Light because it has a very mild flavor, you can certainly use any other beer of your choice. Just note that darker beers will make the bread very bitter.

Just follow these 5 simple steps:
1- Add all the dry ingredients to a large bowl.
2- Mix together dry ingredients.
3- Add beer.
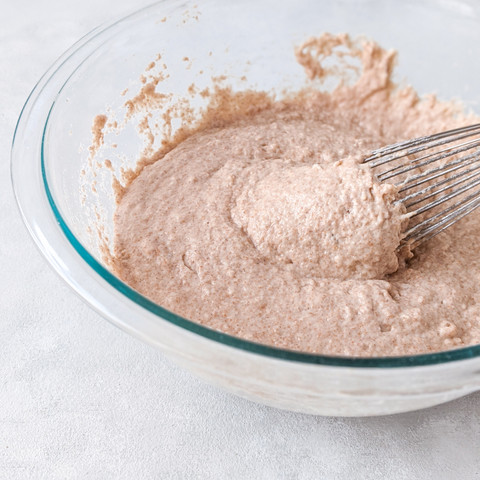
4- Mix in the beer until a sticky batter forms, make sure to get all the dry mixed in.
5- Add your batter to a greased loaf pan, spread the top so that it is a smooth even layer, and bake at 350° for 45 minutes.
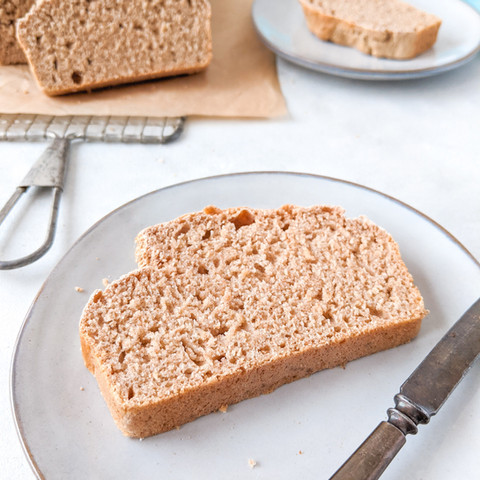
Enjoy with your favorite soup, stew or pasta! Tastes great with butter or use it to dip in your soup or stew.
Ingredients
[Serves about 10-12]
12 ounce bottle of light beer (I used Coors light, it can be cold or room temperature)
1 1/2 cup all purpose flour
1 1/2 cup whole wheat four
3 Tbsp sugar
1 tsp salt
4 1/2 tsp baking powder
Directions
Preheat oven to 350°.
Grease a loaf pan with butter or spray oil, make sure to coat the sides.
Mix together all your dry ingredient in a large bowl.
When the dry is fully mixed, add in your beer. Stir well. It will be sticky, just make sure to get all the dry ingredients incorporated.
Add your dough to the greased loaf pan and spread the top layer so that it is even.
Bake for about 45 minutes or until golden brown and it springs back when poked with your finger.
Tip out of the pan and let it cool for about 10 minutes before cutting.


Comments